How to Add Watermark in Android on a Multiple Images
Adding a watermark to your images is a best way to protect your work and establish your brand identity. Whether you're a photographer, content creator, or just want to add a personal touch to your pictures, this guide will walk you through the process of adding watermark to your images.
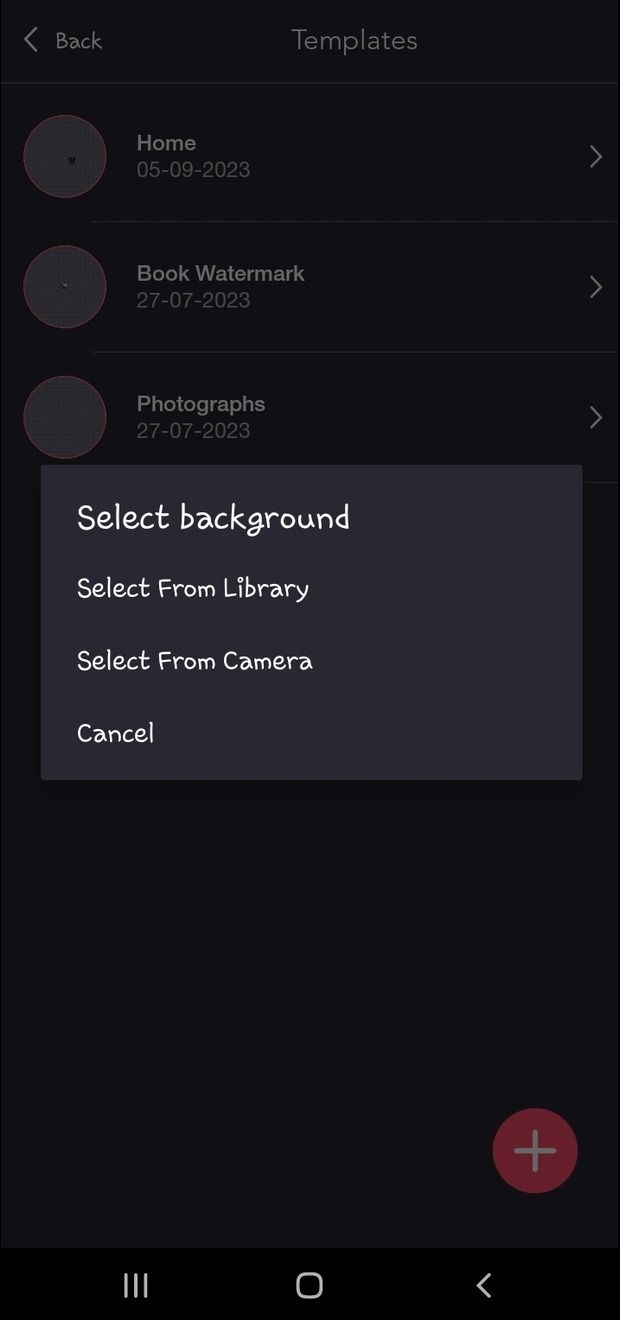
Step 1: Template creation
To watermark multiple images, you need to create a template first. This feature allows you to create customized templates and save them to use latter. You can then use these custom templates to remember your watermarks and their position. So, every time you use these templates, it will automatically set the position of the watermark. You can use this on single picture as well as multiple pictures.

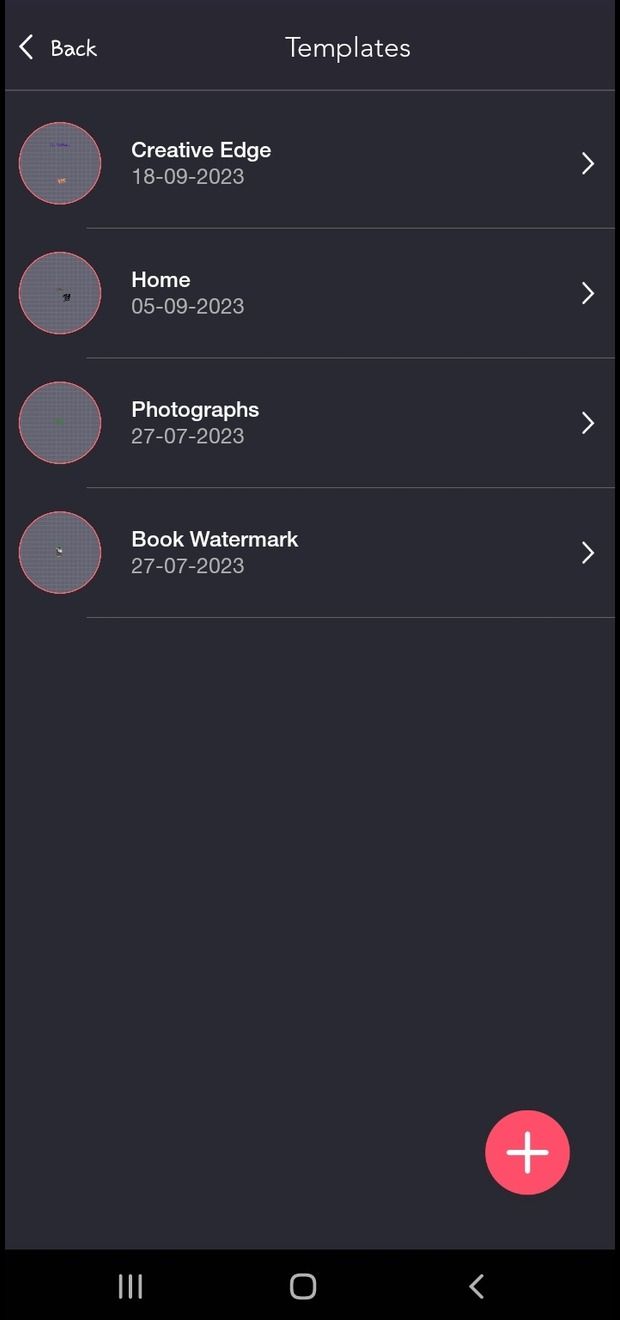
Step 2: Save Your Template
Once you're satisfied with the template's appearance, save it with a descriptive name. This name will help you identify and apply the template easily in the future.
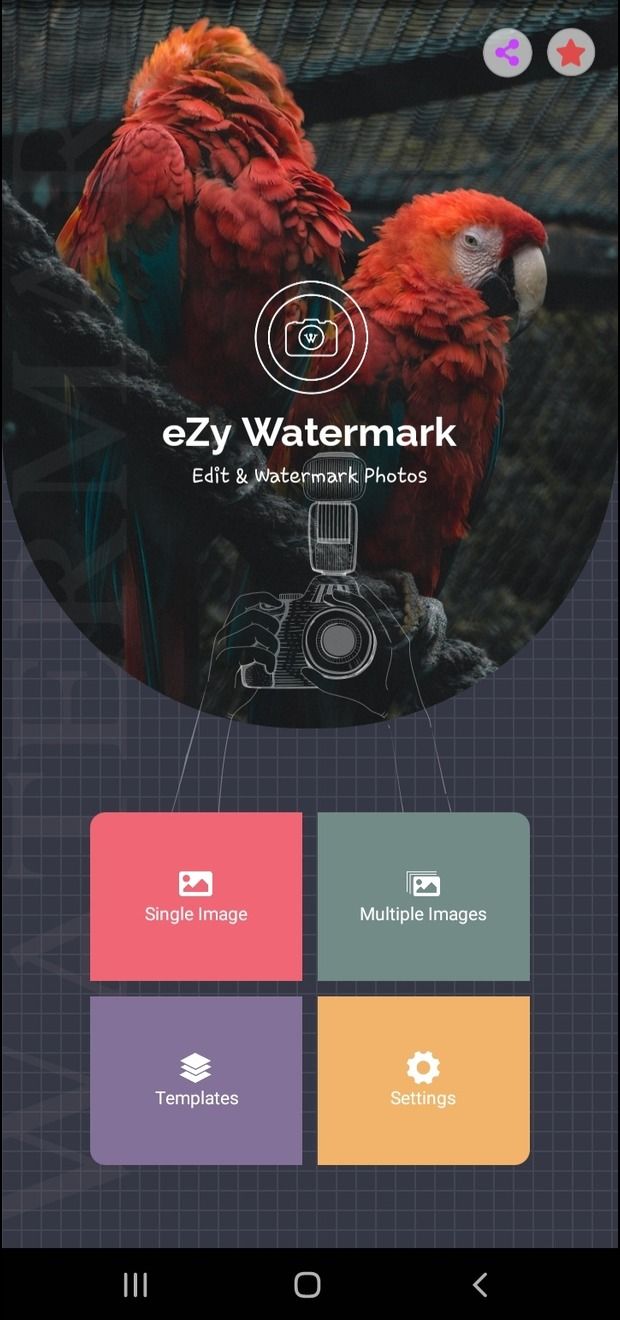
Step 2: Choose Multiple Images
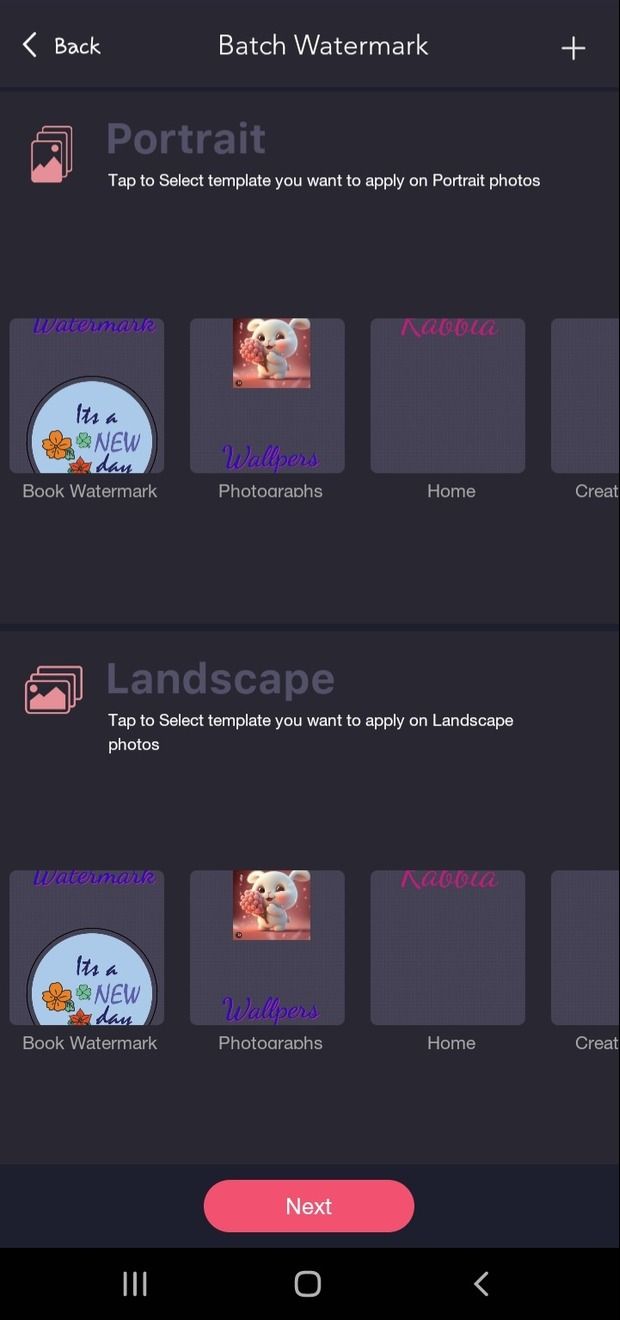
Batch watermark feature allow to you add watermark on multiple images in both portrait and landscape orientation.
- Choose your desired orientation and template (you already created).
- Select multiple images from the gallery.
- Changes can be applied to the selected image and can also be applied to all images.


Step 3: Save Images
Once you've applied the watermark to your images using eZy Watermark, you'll find that all your watermarked images are automatically saved to your device's gallery within seconds. This hassle-free process ensures a convenient way to save and protect your images, making them readily accessible and sharable.