

How to Add Watermark in Android on a Single Image
Adding a watermark to your images is not only a practical measure to protect your intellectual property but also a powerful means of branding and personalizing your visual content. This guide will not only help to protect your visual creations but also enhance your digital identity through the art of watermarking.

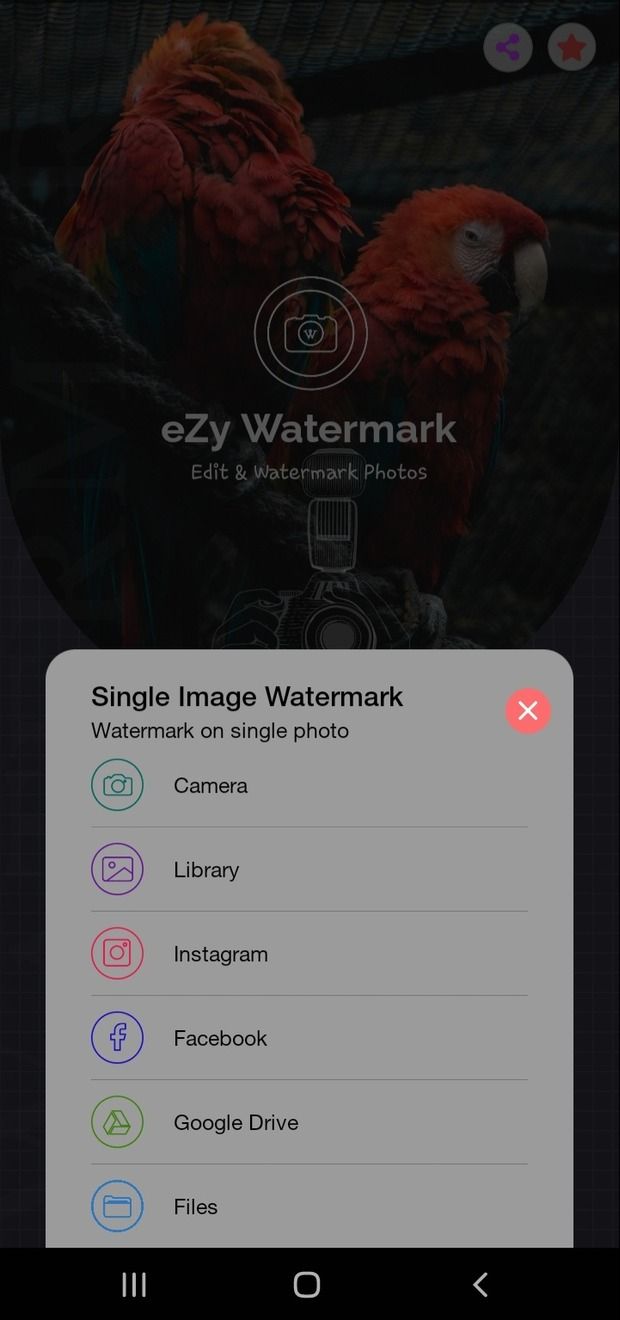
Step 1: Select Your Image
Select the image you'd like to add a watermark to by selecting from the available options within the app. You can select a photo from either of the below options:
- Camera
- Device gallery
- Instagram
- Facebook
- Google Drive
- Files
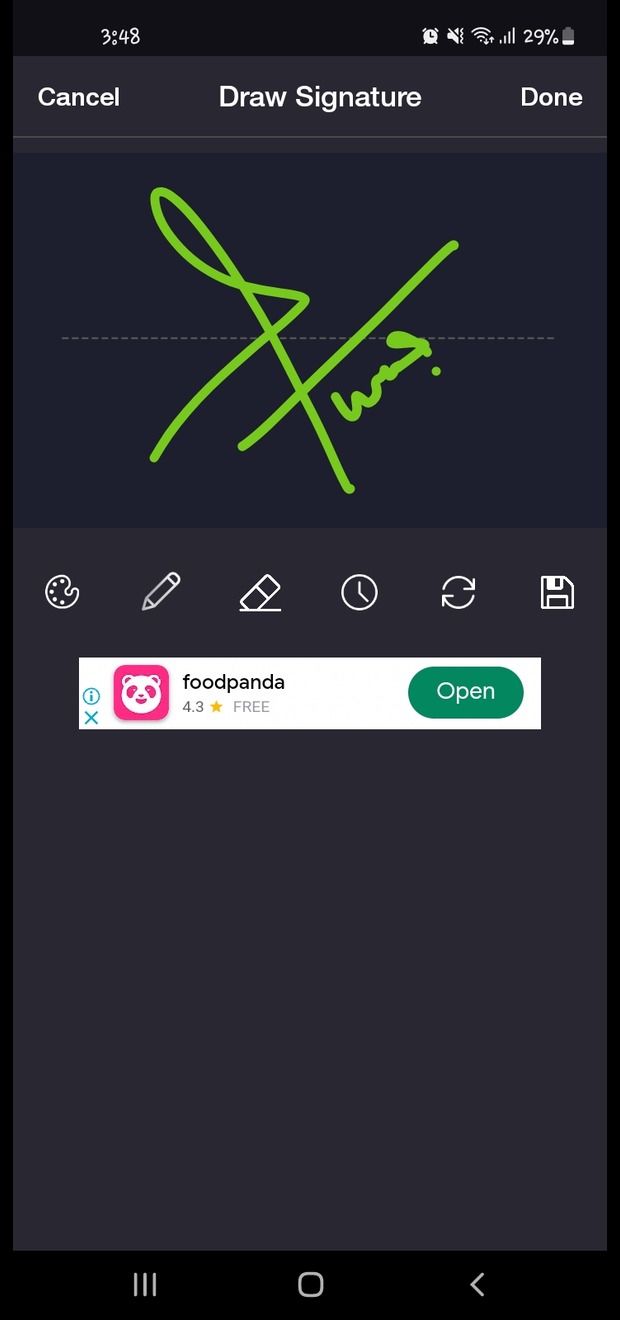
Step 2: Choose Watermark
Before you begin, decide on the type of watermark you want to add. You can choose from text watermarks, logo watermarks, signatures, QR code or even a combination of these. The choice depends on your preference and the purpose of the watermark.

Step 3: Enhance and Beautify Your Watermark
With eZy Watermark, you have the power to enhance and beautify your watermark. Experiment with different fonts, styles, and sizes when crafting text watermarks. Fine-tune the positioning, opacity, and scale to ensure your watermark complements your image.


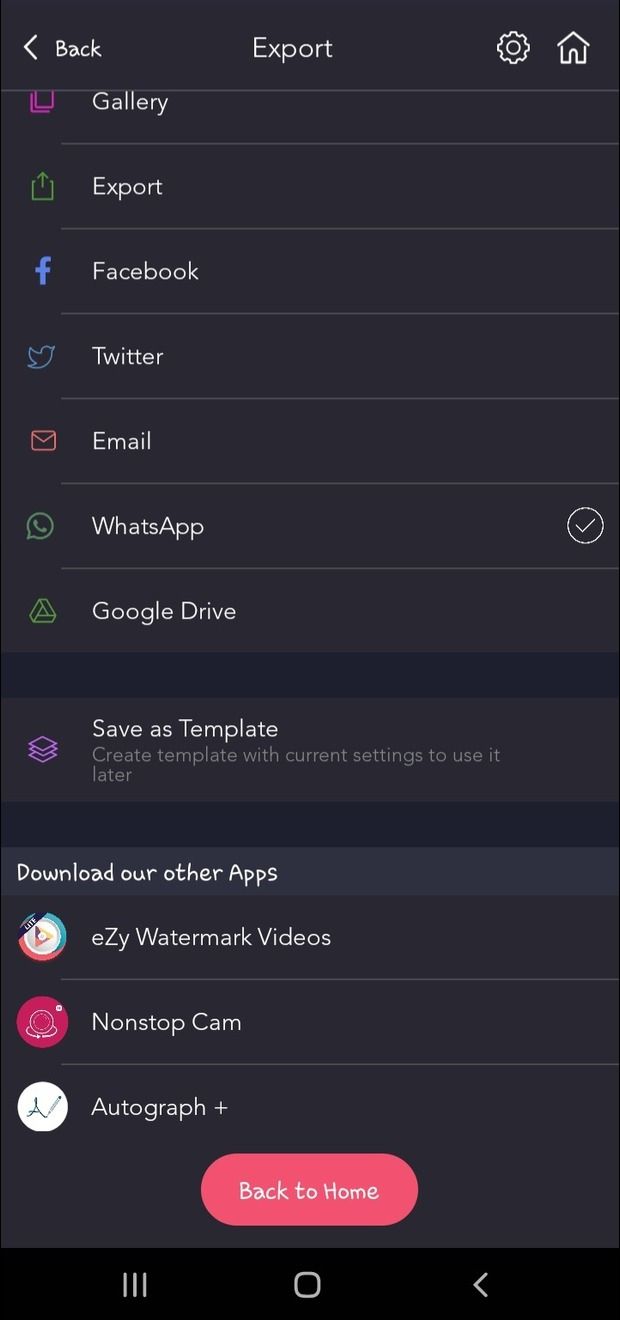
Step 3: Export Image
Now that your images are watermarked, you can confidently share them via:
- Facebook
- Email
- Whatsapp
- Google Drive
- Twitter
Conclusion:
Adding a watermark to a single image with eZy Watermark is a quick and efficient way to protect your work and give it a personalized touch. This simple process allows you to customize your watermark's appearance and placement, ensuring your image is both secure and visually appealing.

