How to Add Watermark in IOS on a Single Image
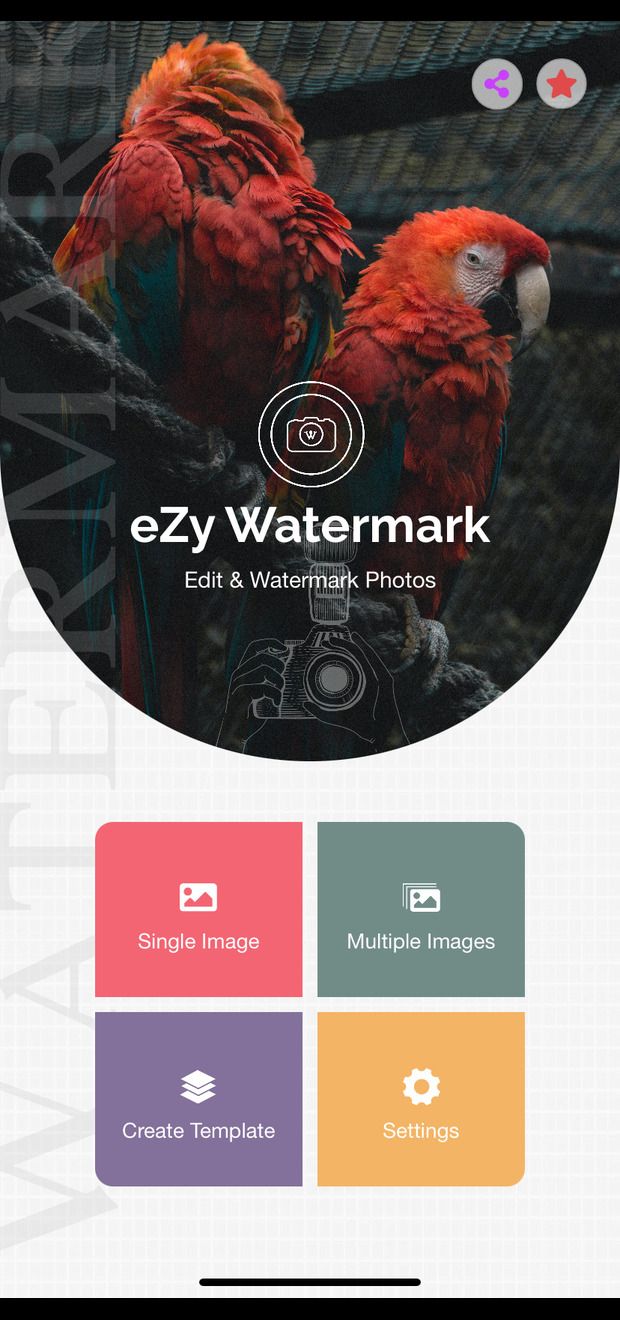
One of the most effective ways to protect your creative work is by adding watermark to your images. A watermark not only safeguards your intellectual property but also provides a visual signature, ensuring that viewers instantly recognize your work. This blog will guide you through the process of adding a watermark to your treasured visuals.
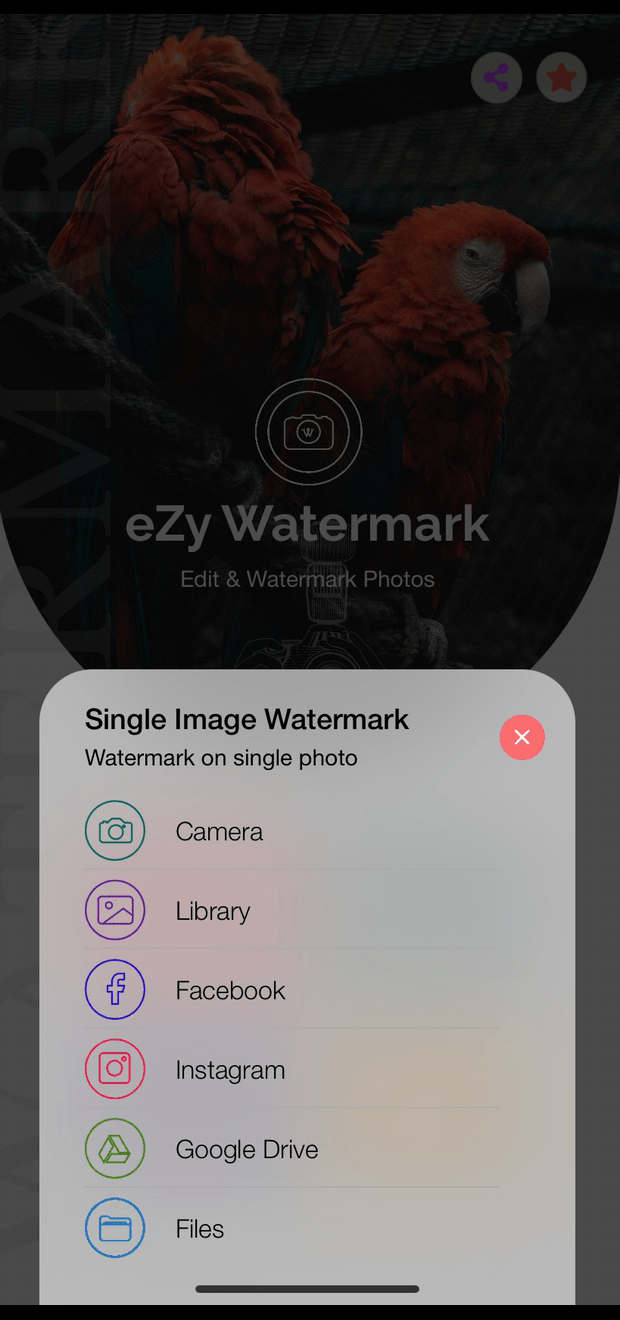
Step 1: Select Your Image
Select the image you'd like to add a watermark to by selecting from the available options within the app. You can select a photo from either of the below options:
- Camera
- Device Gallery
- Instagram
- Facebook
- Google Drive
- Files
Step 2: Choose Watermark
Before you begin, decide on the type of watermark you want to add. You can choose from text watermarks, logo watermarks, signatures, QR code or even a combination of these. The choice depends on your preference and the purpose of the watermark.

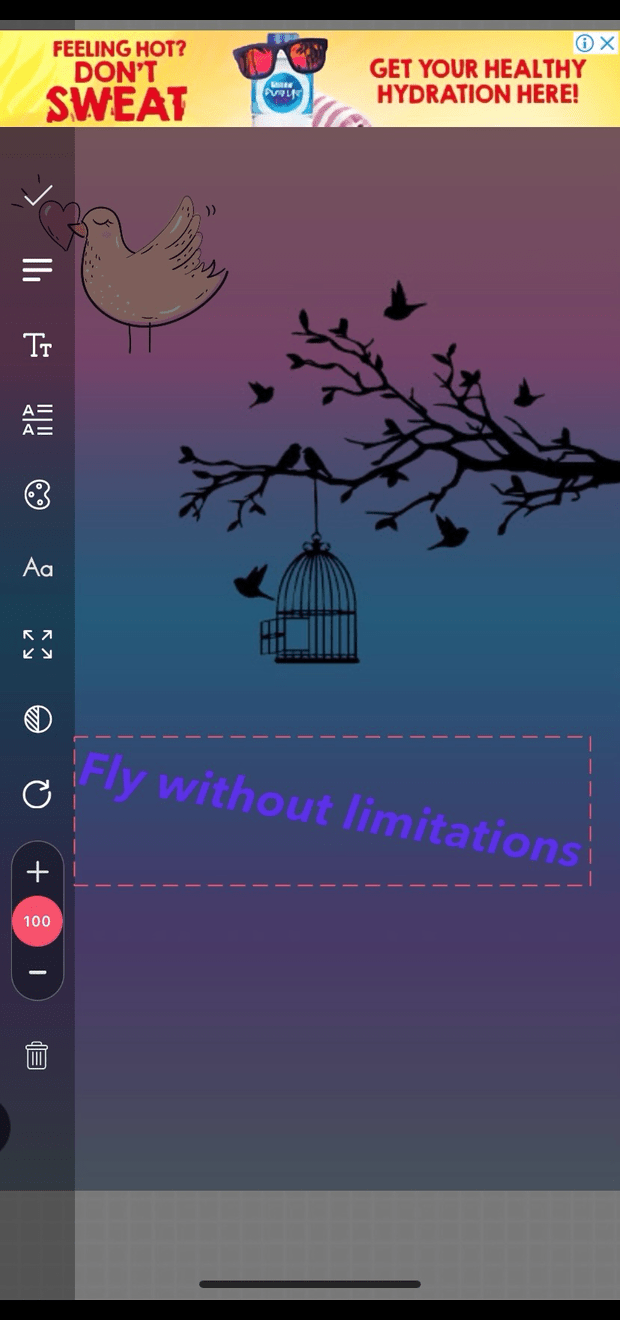
Step 3: Enhance and Beautify Your Watermark
With eZy Watermark, you have the power to enhance and beautify your watermark. Experiment with different fonts, styles, and sizes when crafting text watermarks. Fine-tune the positioning, opacity, and scale to ensure your watermark complements your image.


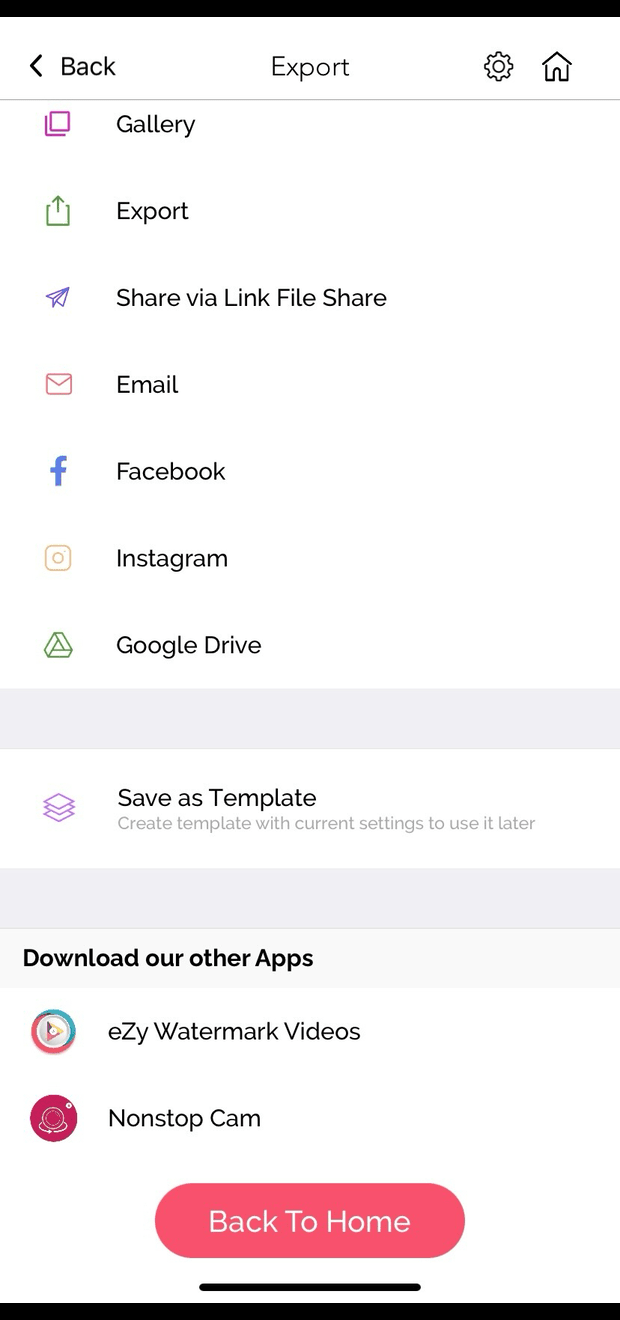
Step 3: Export Image
Now that your images are watermarked, you can confidently share them via:
- Facebook
- Email
- Whatsapp
- Google Drive
- Twitter